Catskill-craftsmen 51526 User Manual
Browse online or download User Manual for Furniture Catskill-craftsmen 51526. Catskill Craftsmen 51526 User Manual
- Page / 13
- Table of contents
- BOOKMARKS
Summary of Contents
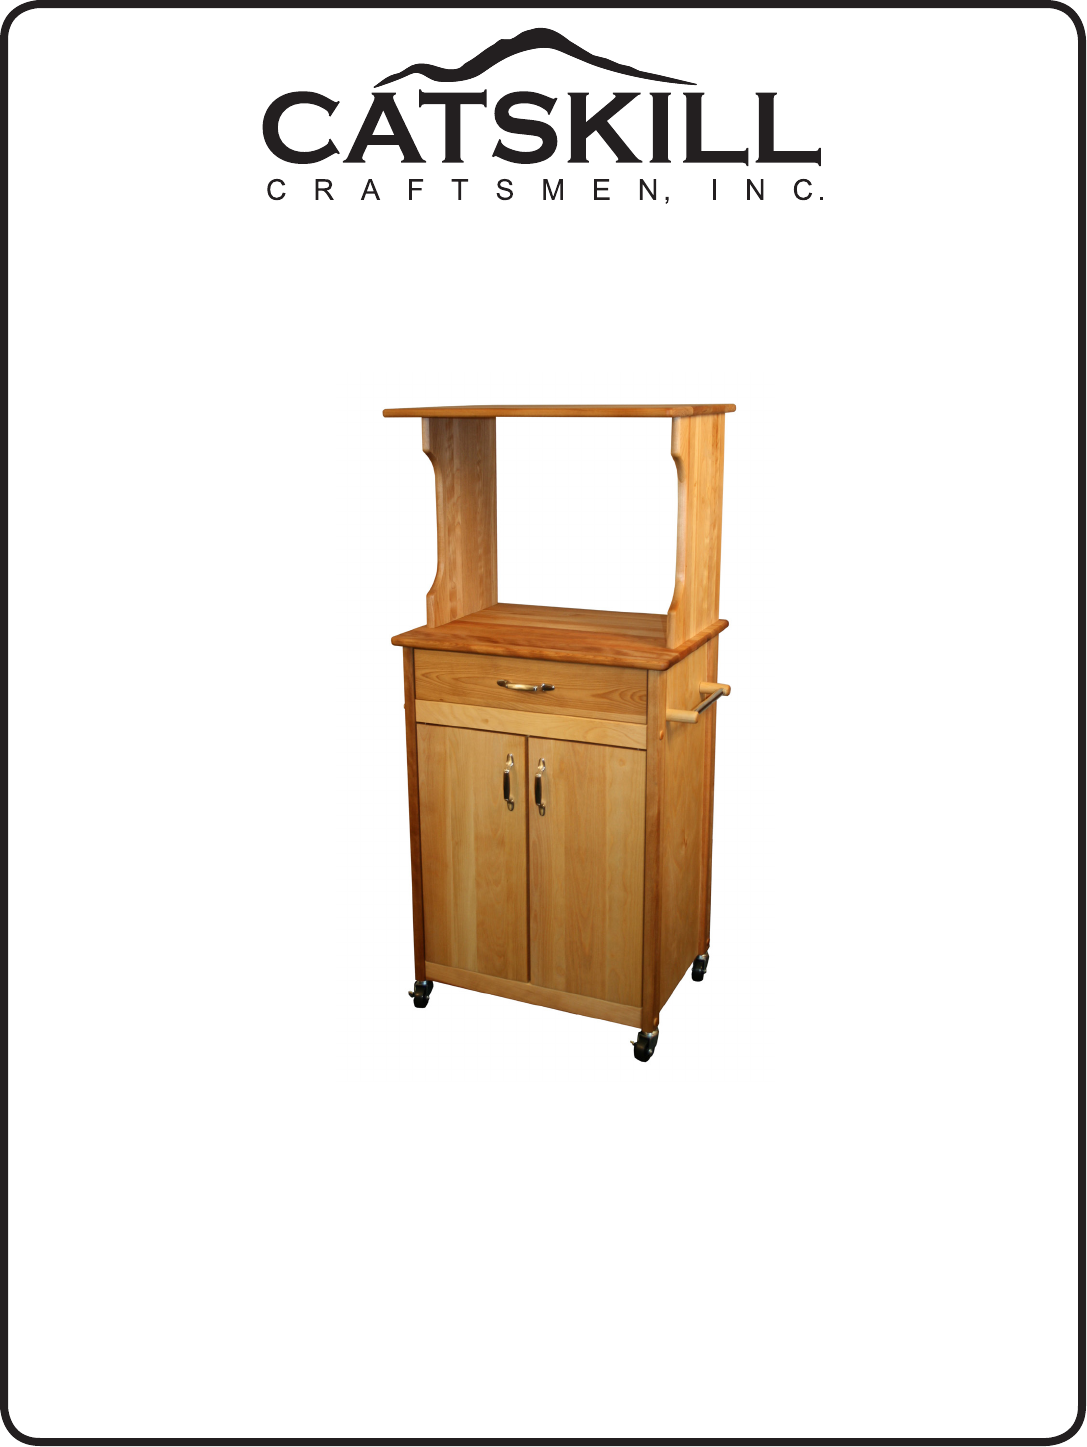
Assembly InstructionsModel 51526Microwave CartGENERAL:1. You have purchased model 51526. 2. Should you need assistance or need to replace a damaged or
STEP 9Attach handle/towel bar to side panel with 1” #8 screws/washer from inside one panel.2 used in this step1” Phillips Flat Head #8 Screw2 used in
1 3/4” Phillips Flat Head Bolt2 Used in this step10-24 Hex Nut 2 Used in this step2 Used in this step3/16” Flat Washer STEP 11A. Install doors by inse
STEP 13A. Insert and tap caster sockets with hammer until the teeth grab the wood. DON’T POUND SOCKET FLAT OR CASTER SHAFT WILL NOT ENTER.B. Insert ca
For continued beauty and long life of your Catskill Craftsmen cart, we recommend Catskill Craftsmen’s Butcher Block Oil. Our Butcher Block Oil is avai
Plain Side Panel (1)P/N: SP PL - 51526 TOPHandle Side Panel (1)P/N: SP HDL - 51526 TOPTOPBack Panel (1)P/N: BP - 51526 Drawer Bottom (1)P/N: DBOT -
1 3/4” Phillips Flat Head Bolt (8) Cam Posts (2) 1 1/4” Phillips Flat Head #8 Screw (20) 7/8” Truss Head Machine Screw (6) 5/8” Pan Head Screw (2) 1/2
STEP 11. Attach the Rack Top to the top ends of the Side Panels (universal: same left/right & top/bottom) using 1 1/4” #8 wood screws. MAKE SURE Y
STEP 2Note: The side panels are interchangeable at this point. Drawer glides will determine left or right sides. Choose at this point if you want the
STEP 3A. Lay Back Panel at on a smooth surface with holes up.B. Attach Side Panels with 1 3/4” bolts and hex nuts. After inserting bolts(s) thru the
STEP 5A. Turn the side/back assembly (from step 1) upside down (invert) on top of the inverted table top.B. Using the (X) marks from step 4 as a guide
STEP 6A. Attach the drawer back to the drawer sides with four 1 1/4” #8 screws. Make sure parts are aligned as in illustration 6A.B. Insert drawer b
STEP 7Take the 2 front braces and tap/insert one 3/4” steel pin into each end of both braces until seated. About 3/8” will stick out when seated. Ok i
Related products and manuals for Furniture Catskill-craftsmen 51526
 (11 pages)
© 2020, manymanuals.com. All rights reserved. | 1.515 s |
 Manymanuals.com
 Manymanuals.de
 Manymanuals.fr
 Manymanuals.it
 Manymanuals.pl
 Manymanuals.cz
 Manymanuals.es
 Manymanuals-pt.com
Comments to this Manuals